
Speeding up your workflow while improving your design in Adobe InDesign
By: Kevin Slimp
Download PDF
At the 21st session of the Newspaper Institute last week, Ed Henninger and I did something we’ve never done before. We taught a class together. It must have been a good idea because it was the most attended of the 26 classes offered.
Titled, “What You Need to Know About Paragraph Styles,” we took the group through a very fast paced 90-minute session, covering everything from simple nested styles to advanced nested styles.
Afterwards, while discussing our class in the hallway, Ed and I both agreed we had learned something from each other concerning paragraph styles. Ed told me he hadn’t seen nested styles created using the method I used.
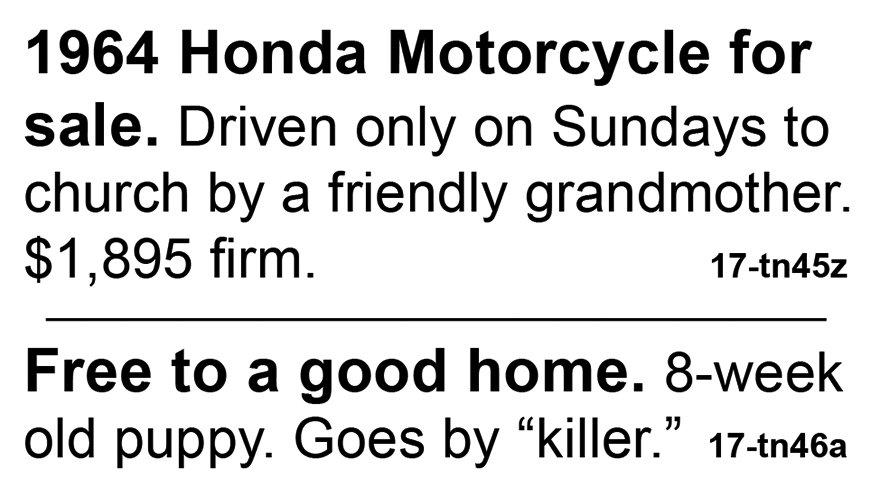
A nested style is a type of paragraph style that combines two or more separate styles into a single paragraph style. For instance, this is an easy way to create a style for classifieds. If the user wanted five bold words at the beginning of each classified, followed by smaller normal text, then followed by a different style of text for the code at the end of the ad, this could be accomplished with a nested style.
I was intrigued by a method Ed used to create a paragraph style based on the style that follows.
For instance, most newspaper designers are used to using paragraph styles to set body text, headlines, cutlines and other common text styles.
Let me offer a quick explanation for those who don’t design pages. Suppose you’ve placed text under a photo. Without a paragraph style to simplify the process, you would highlight the text, select a font, along with tracking, leading and other characteristics to create your cutline.
However, using a preexisting paragraph style, the user could simply click anywhere within the cutline and select “cutline” to achieve the same effect.
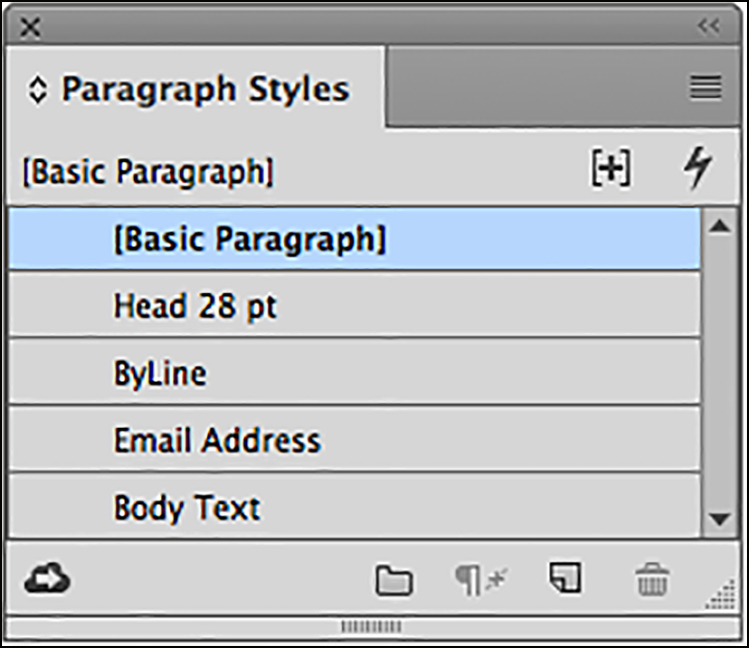
The same technique could be used to apply styles to headlines, body text, bylines and other types of text on a page.
Ed discussed a method he uses to create styles for his newspaper clients, using a “next style” method. I noted a few of the styles he created and asked Ed to take a step back and show the class exactly how these styles were created.
Afterwards, I went to my computer and experimented with different types of paragraph styles using this method.
“Wouldn’t it be great,” I thought, “if by simply clicking on a paragraph style, the headline, byline, email line and body text were all set automatically, without having to select different styles for each?”
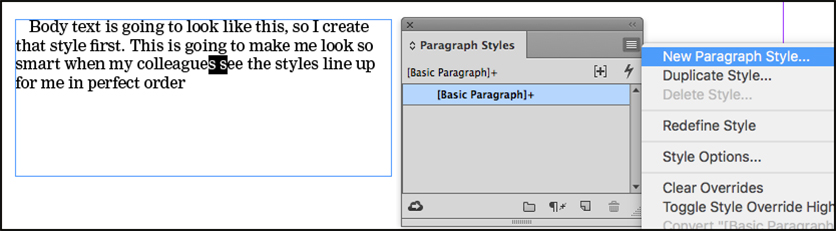
Let me show you how this can be accomplished. We will begin by placing some text on a page.
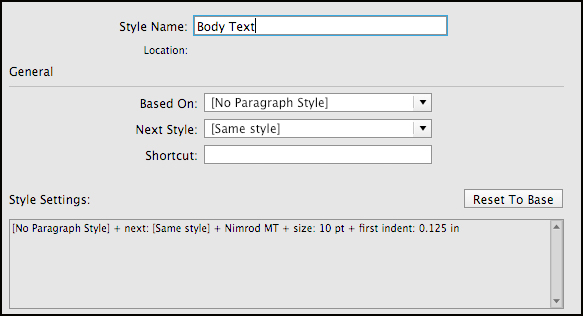
For this particular method to work correctly, we will create the body text style first. This is done by creating text exactly the way you want it to appear on the page. Set the font, the justification, the first line indent, etc. I named this font “Body Text” in the Paragraph Styles panel.
Suppose my stories consist of headines, with bylines below the headlines, followed by email addresses below the bylines, then body text flowing below the email addresses.
Yes, I could place the text, then click on each of the paragraph styles individually, until each type of text was styled. However, by paying close attention, I can create paragraph styles that do all these for me, with one click, rather than having to select each piece individually.
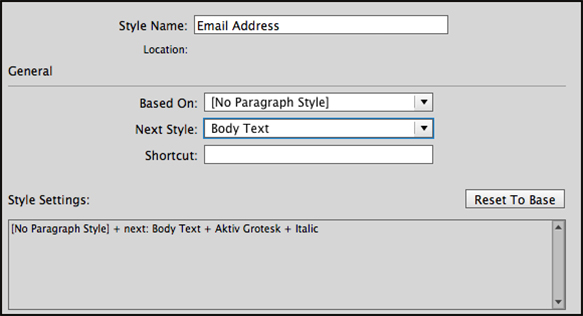
After creating a “Body Text” style, I go about creating a style for the email line. Notice inside the “Next Style” box, I have selected “Body Text.” This will allow me to set two styles at once, an email line followed by body text.
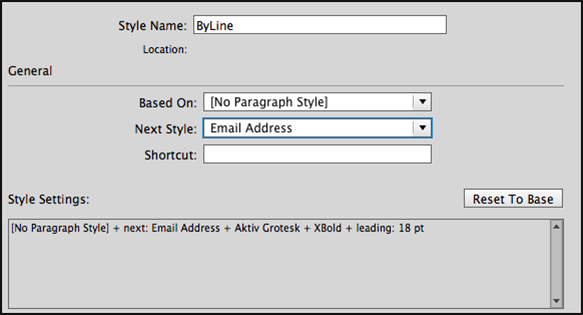
Next, I create my paragraph style for the byline. Again, create text just as you intend for it to look on the page. Note the setting for “Next Style.” After the byline, the next line will be in the Email Address style.
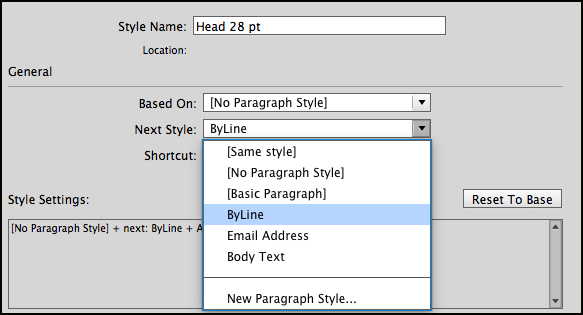
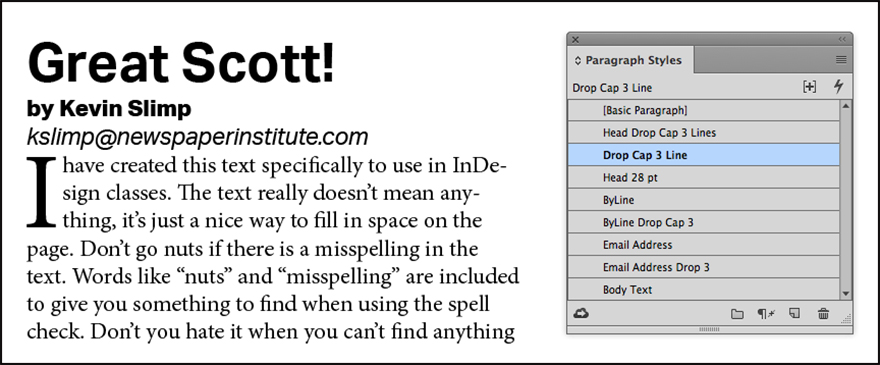
Finally, a style is created for the headline, with Next Style set for “ByLine.”
Now, here is the trick. For this to work, you place your text on the page, then click somewhere within the headline with your Text tool.
Next, right-click on the headline style and select “Apply “Headline” then Next Style.”
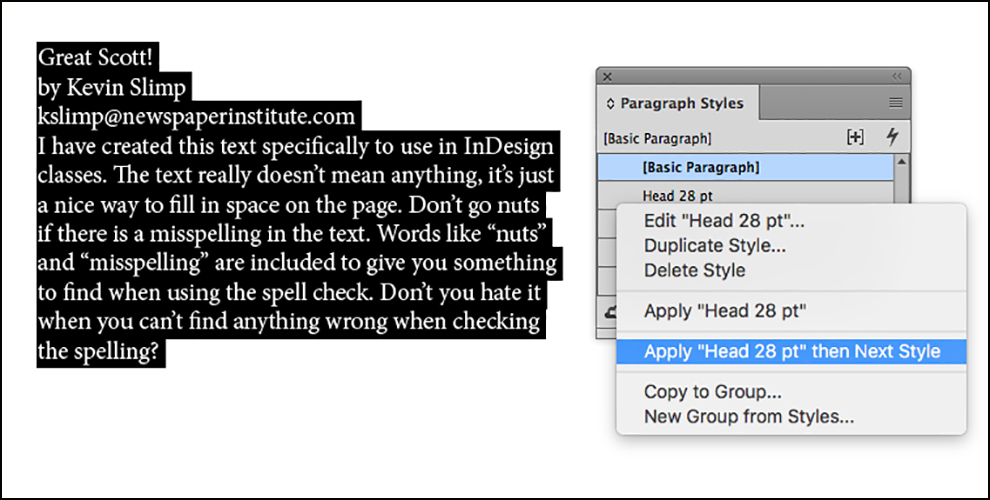
The result is a headline, a byline, an email address line, followed by body text.
With a little practice, you’ll be setting up styles for stories with drop caps and more.
I know you can’t wait. Go have fun. Remember, the secret is to right-click on the paragraph style if you want to use the “next style” method.